For this image I used the colour replacement tool and painted the grayscale rose with a bright red colour.
Blemish
For this image I used the spot healing tool and double clicked on the blemish, which made it disapear.
Horizon
To make the crooked horizon straight, I used the Ruler tool and dragged it across the horizon.
Soft focus
To create the soft focus effect, I set the gaussian blur to 2.0 pixels which makes it a low resolution photo.
Over exposed photo
For this image, I duplicated the layer, clicked on image>adjustments>show/highlight. I then moved the shadow amount to zero and I adjusted the highlight amount to the right until the image looked good.
Dark forest
For the forest image, I added the text "Dark Forest" by selecting the text tool.
Harbour Bridge
Using the harbour image, I changed the width of the image to 500 and the resolution to 120. I then used the bicubic sharpener and clicked OK.
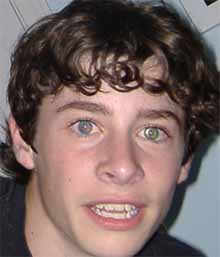
Red Eye Removal
Using the Red Eye Photo, I selected the spot healing brush tool then selected the Red eye tool.I double clicked the pupil and typed the number 15 in the options bar. It replaced the red eye with a neutral grey. I then changed the grey to a blue.
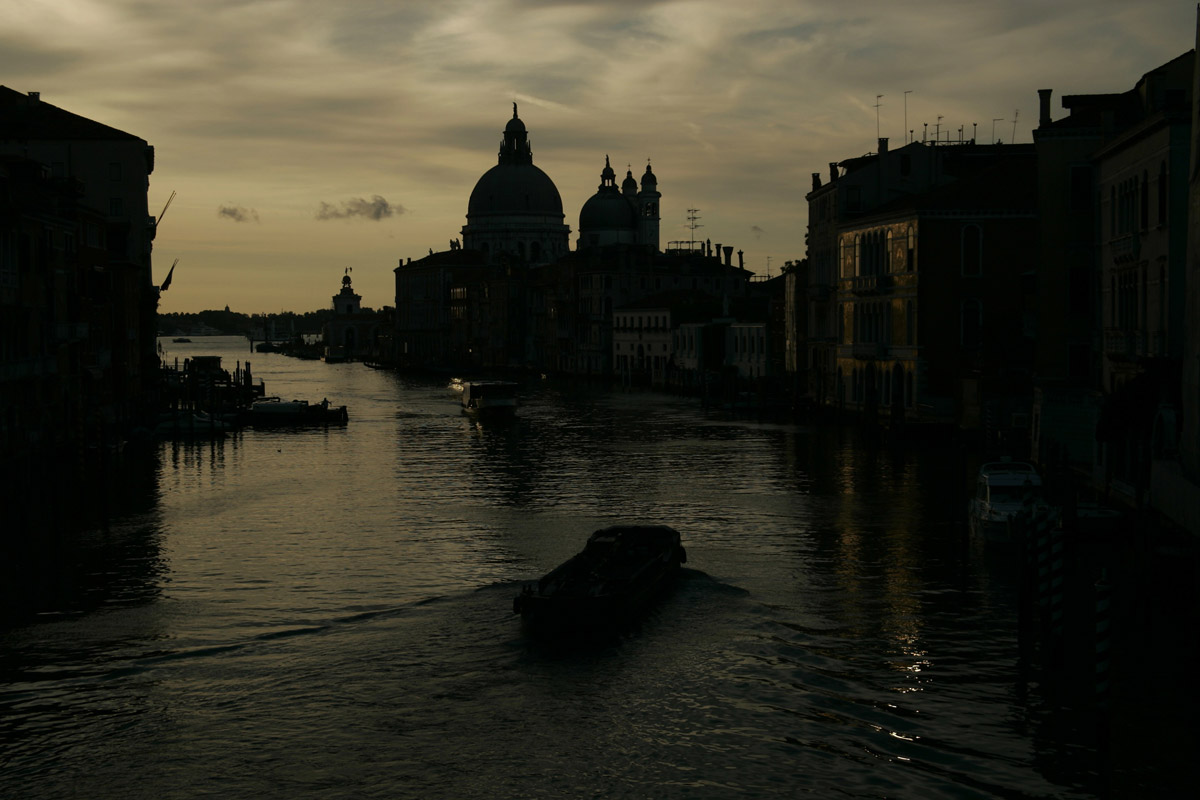
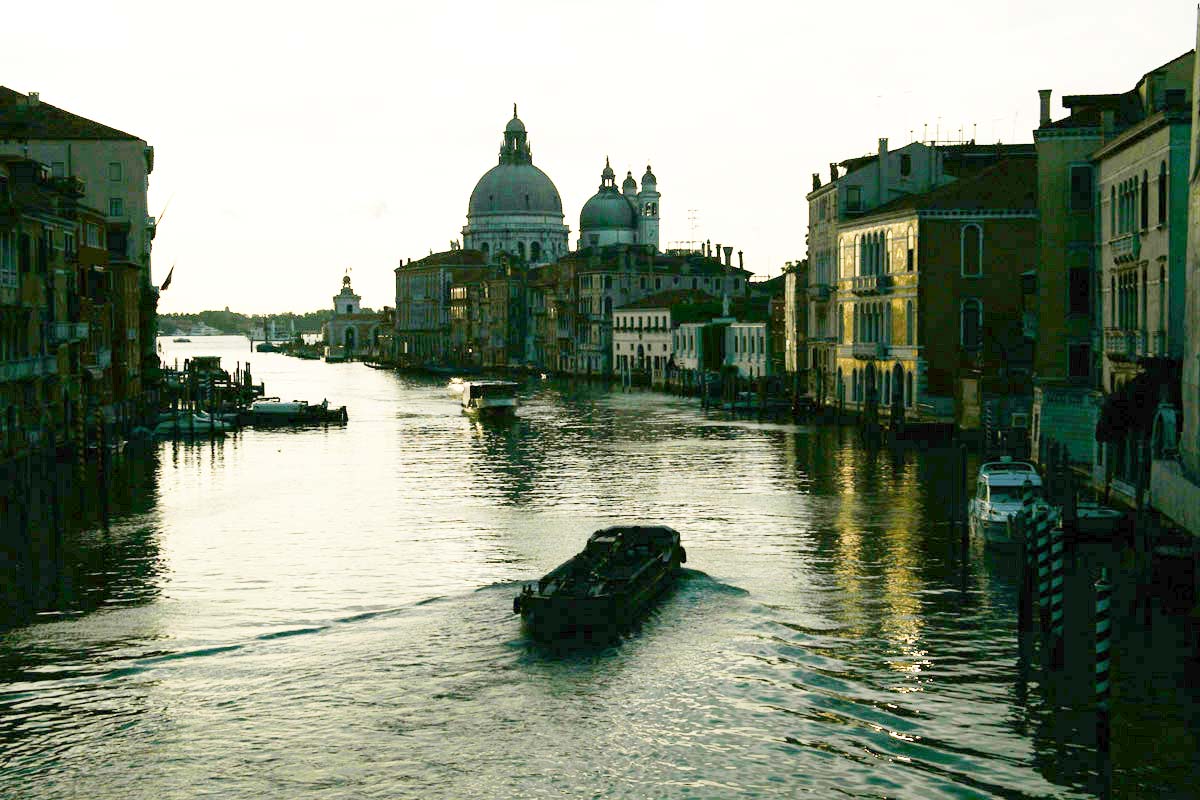
Under Exposed
Using the under exposed photo, I dupliated the layer, clicked on the blend mode and selected screen. The photo appeared a little lighter. I duplicated the image several times and repeated the adjustments which made it brighter.